
Dev update – Handle issues
It is now possible to handle all your issues in GrunnaIDE. You do not need to have a separate place to keep what need to be done. This is a very easy issue handler and should be continued to be developed later on. I just needed something simple to have a place what should be done.
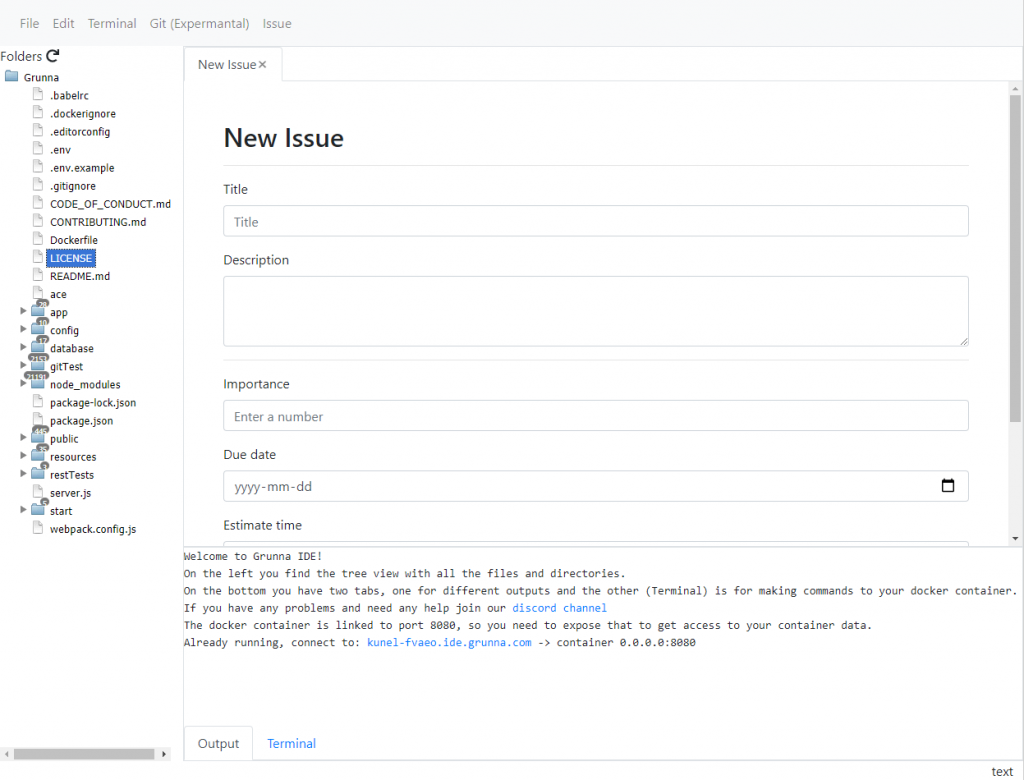
It’s not that much but I think it’s the basics to get started. I have some ides that I want to implement later on. One is that you can create an issue from the code and get a reference in the issue to the specific place so you can easy go to the place we know where it is a problem, or if you have a test case that fails.
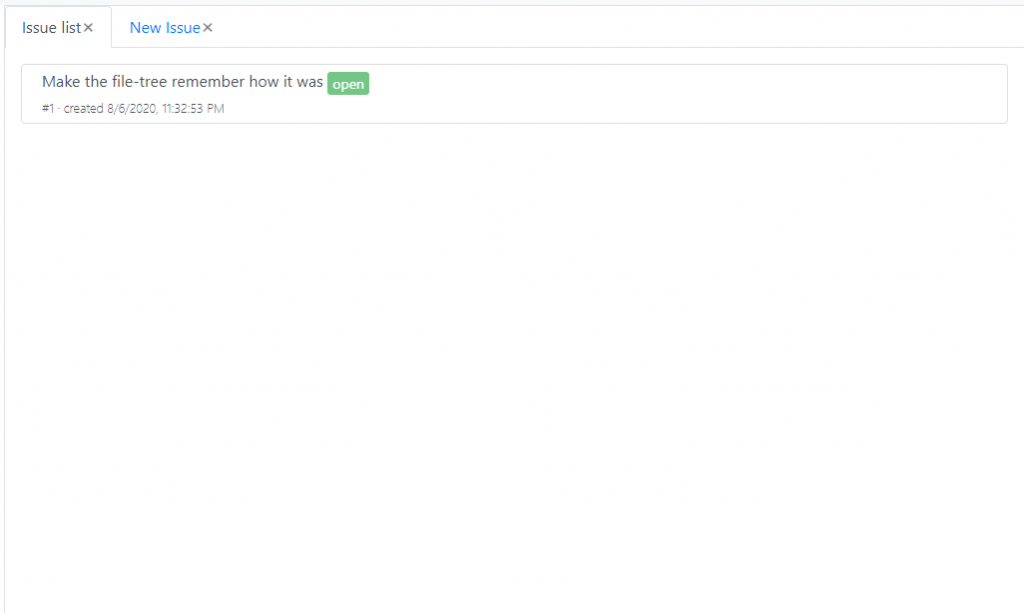
This will be the list that show all the issues. At the moment I show both open and closed issues. I want to split that later on. I think I need to have a pageinator later on also.
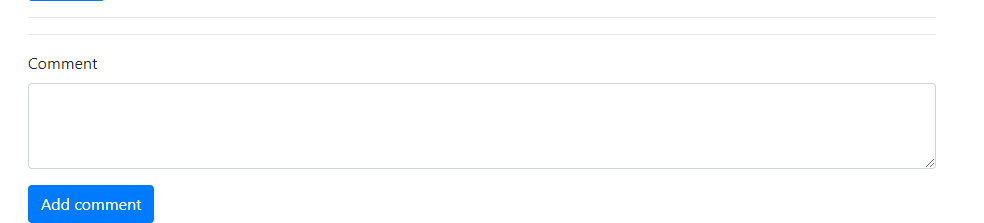
There is a simple comment part so we can have a discussion what should be done or if there is question about the issue.
That is it for now. Next thing I’m looking to extend the editor to have a visual part to code with a visual part. Drag and drop coding. Lets see how that will go.
Go try the new feature at https://ide.grunna.com/login and any question or suggestion for improvement go to https://discord.gg/Hzf6hC

Dev update – Setup Phaser
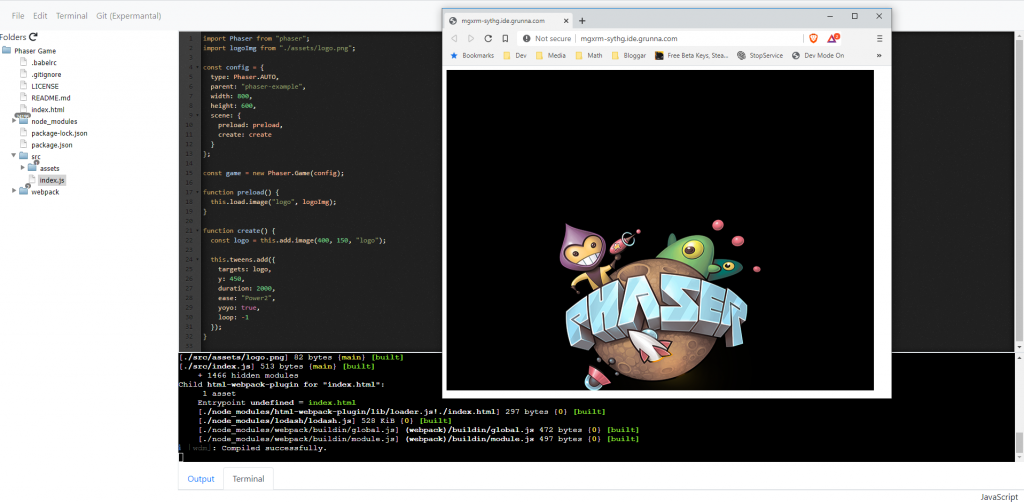
Today I will talk about how to get Phaser up and running in a easy way in Grunna IDE.
First you need to login on https://ide.grunna.com via a GitHub account. When you have logged in and your on your dashboard you can create a new project. You will need to create a node project and clone this git repo from Phaser ‘https://github.com/photonstorm/phaser3-project-template.git’.
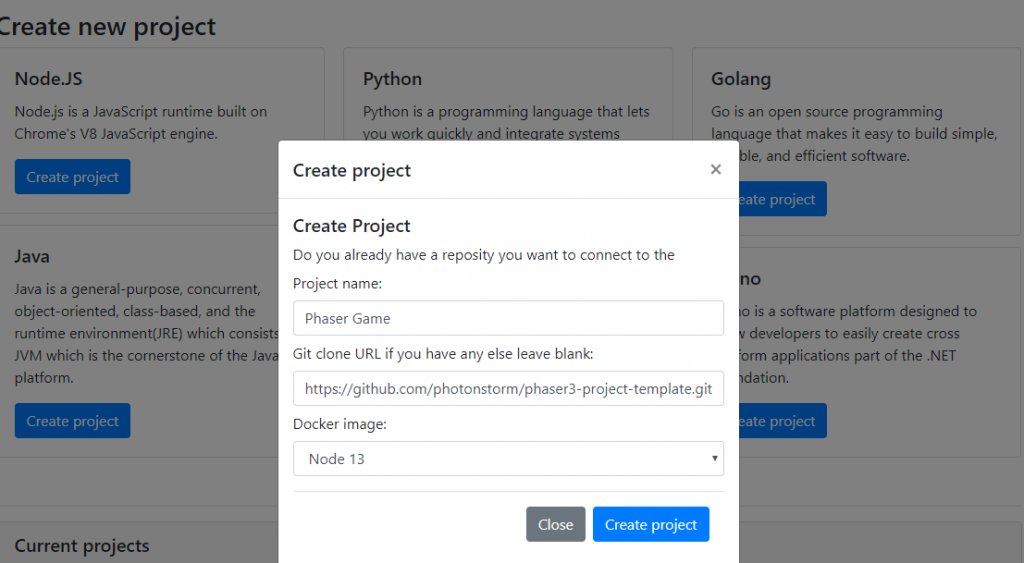
This will create the project and a docker container will be created for you. In the bottom you will get the URL for access it, this will be renewed every time you login or refresh the page. In the container you also need to run on port 8080. Because it is in a container we need to change some more in the package file to get it working. Open up the package.json and locate this part. "start": "webpack-dev-server --config webpack/base.js --open" we need to add two more parameters. It should be change to "start": "webpack-dev-server --config webpack/base.js --open --host 0.0.0.0 --disable-host-check" and hit the CTRL-S to save the changes.
When that is done you go to the bottom and press the terminal tab and press enter once to get into it. Then you have to install all the dependency and you do that with npm install, when that is finished you are good to go and start the server with npm start. This will start the server and it should update every time you save so you don’t need to restart the server. You need however reload the page to get the new update.
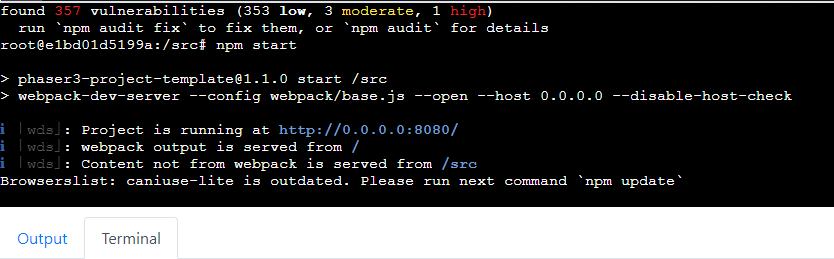
Just get back to the Output tab and press the link to get into the game. It is that easy to get a server up and running and start coding your own game in phaser.
If you have any question or need any help just join our Discord and we will help you as good as we can.